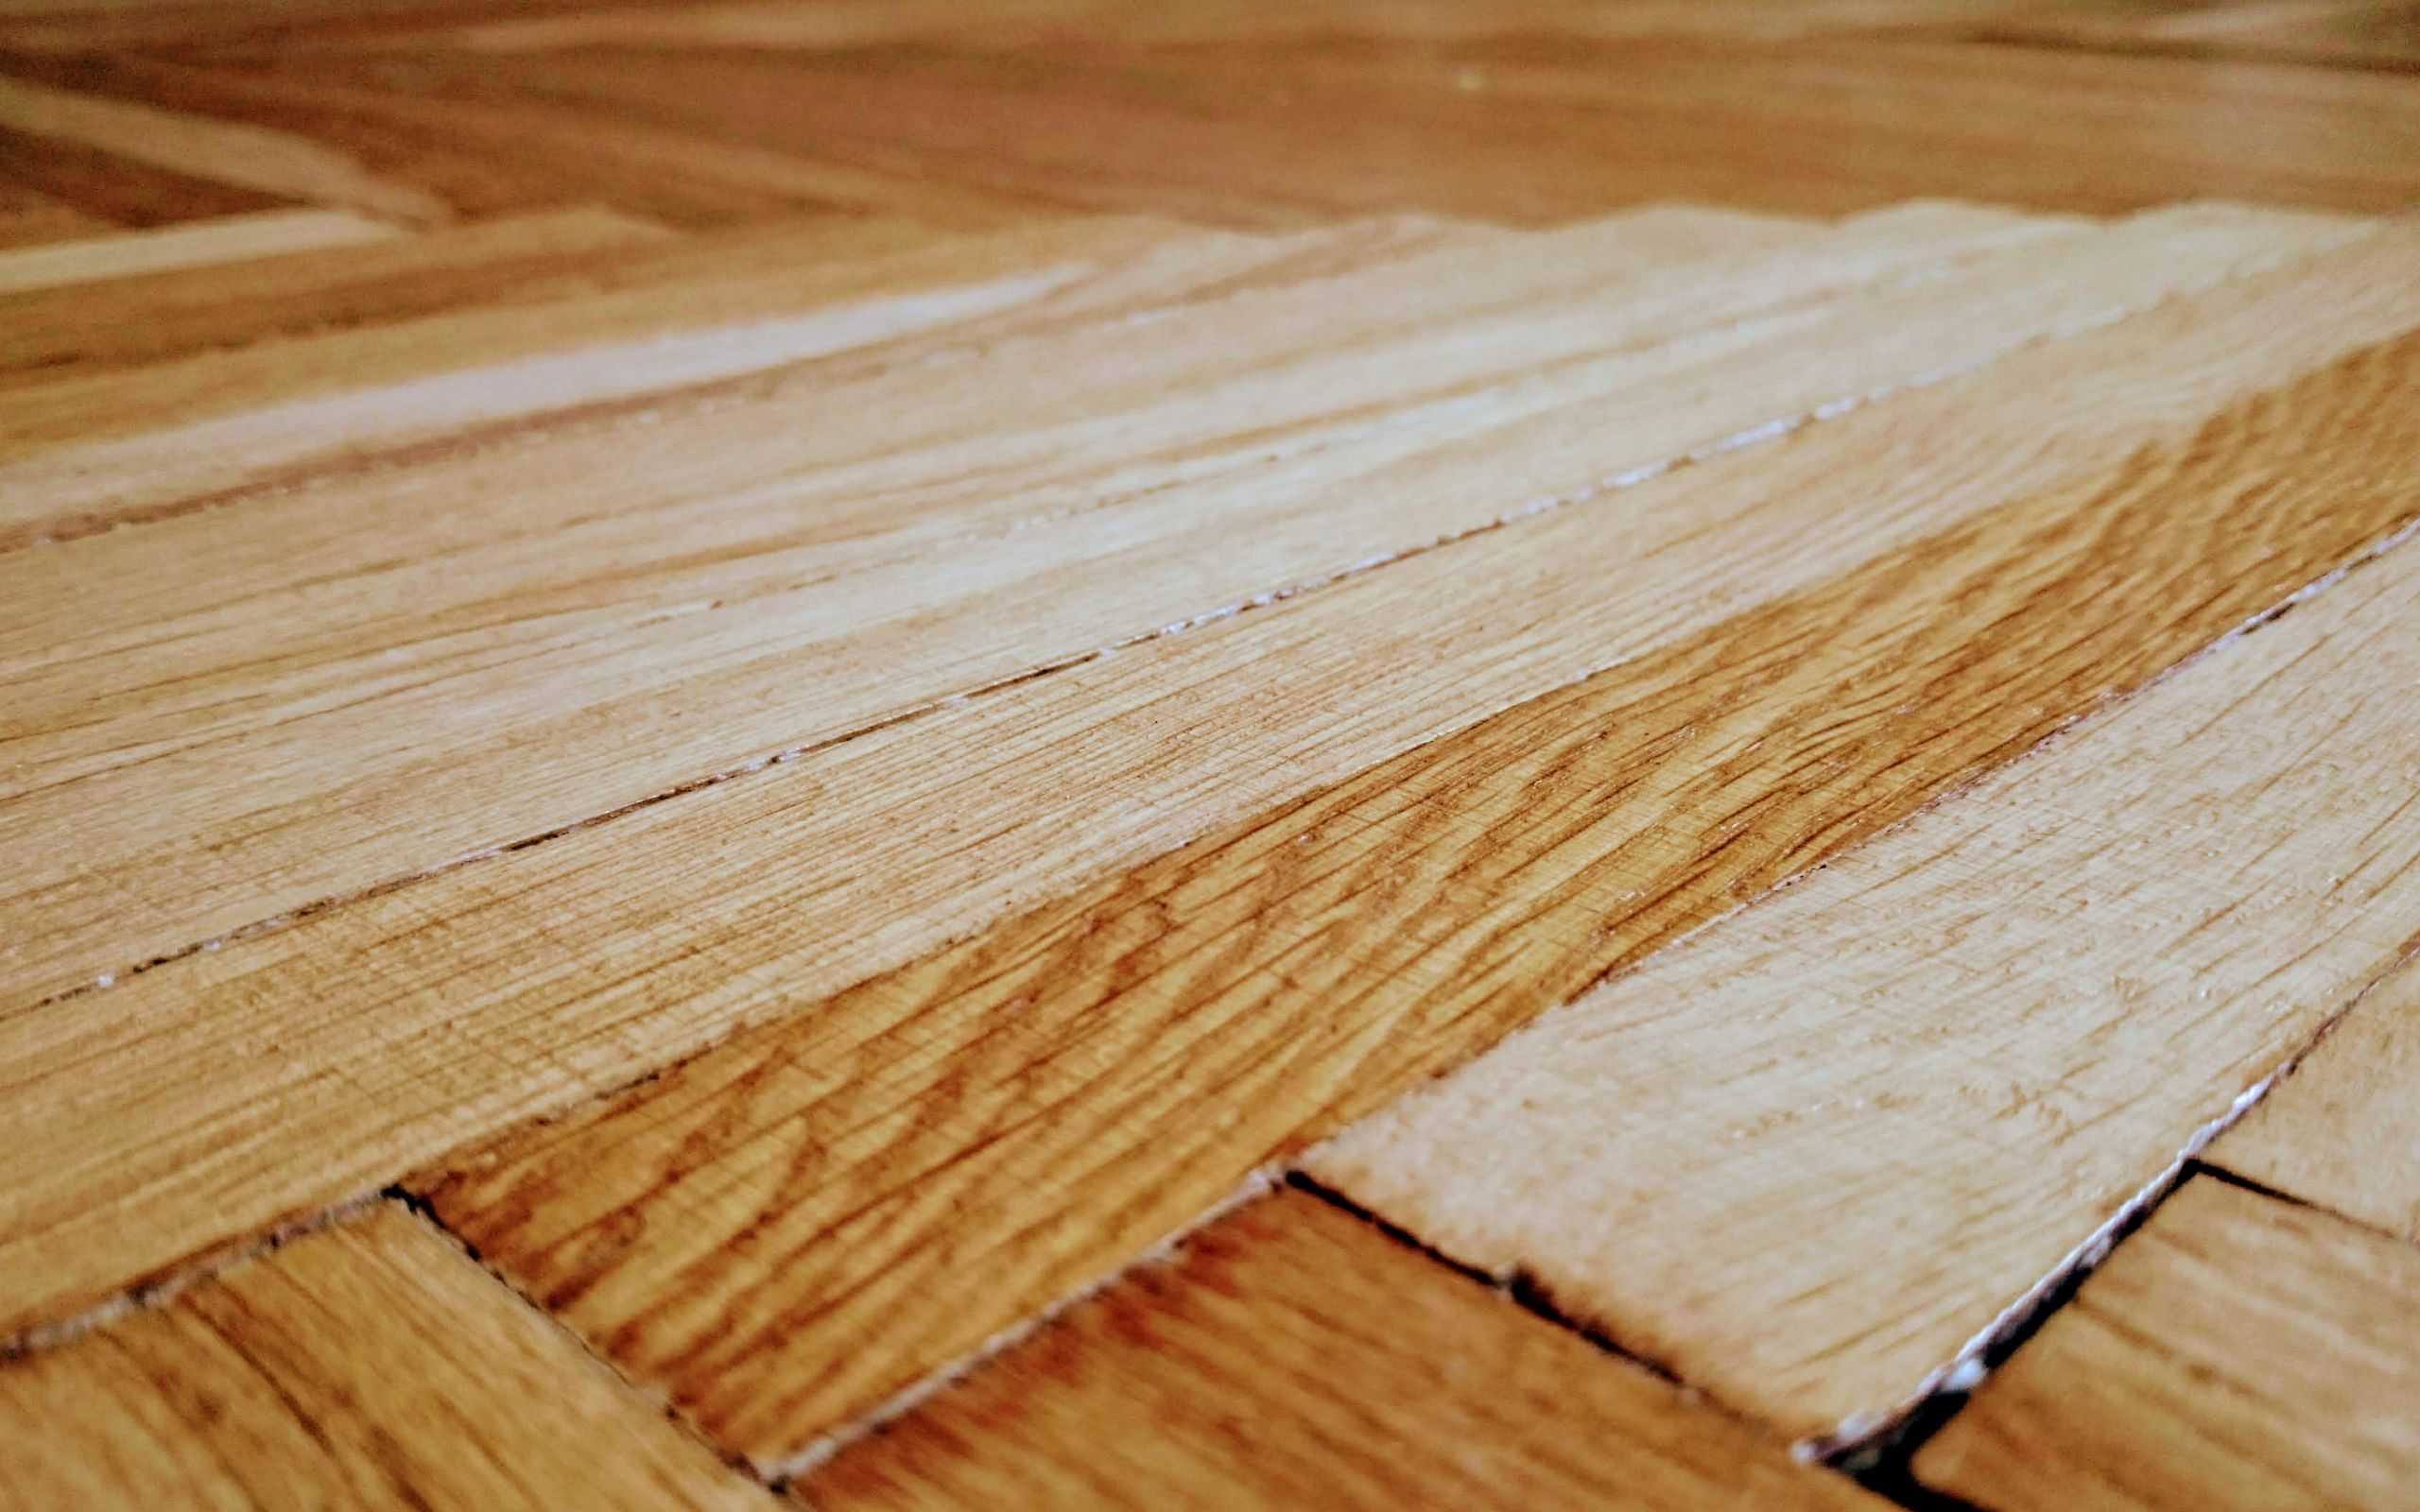
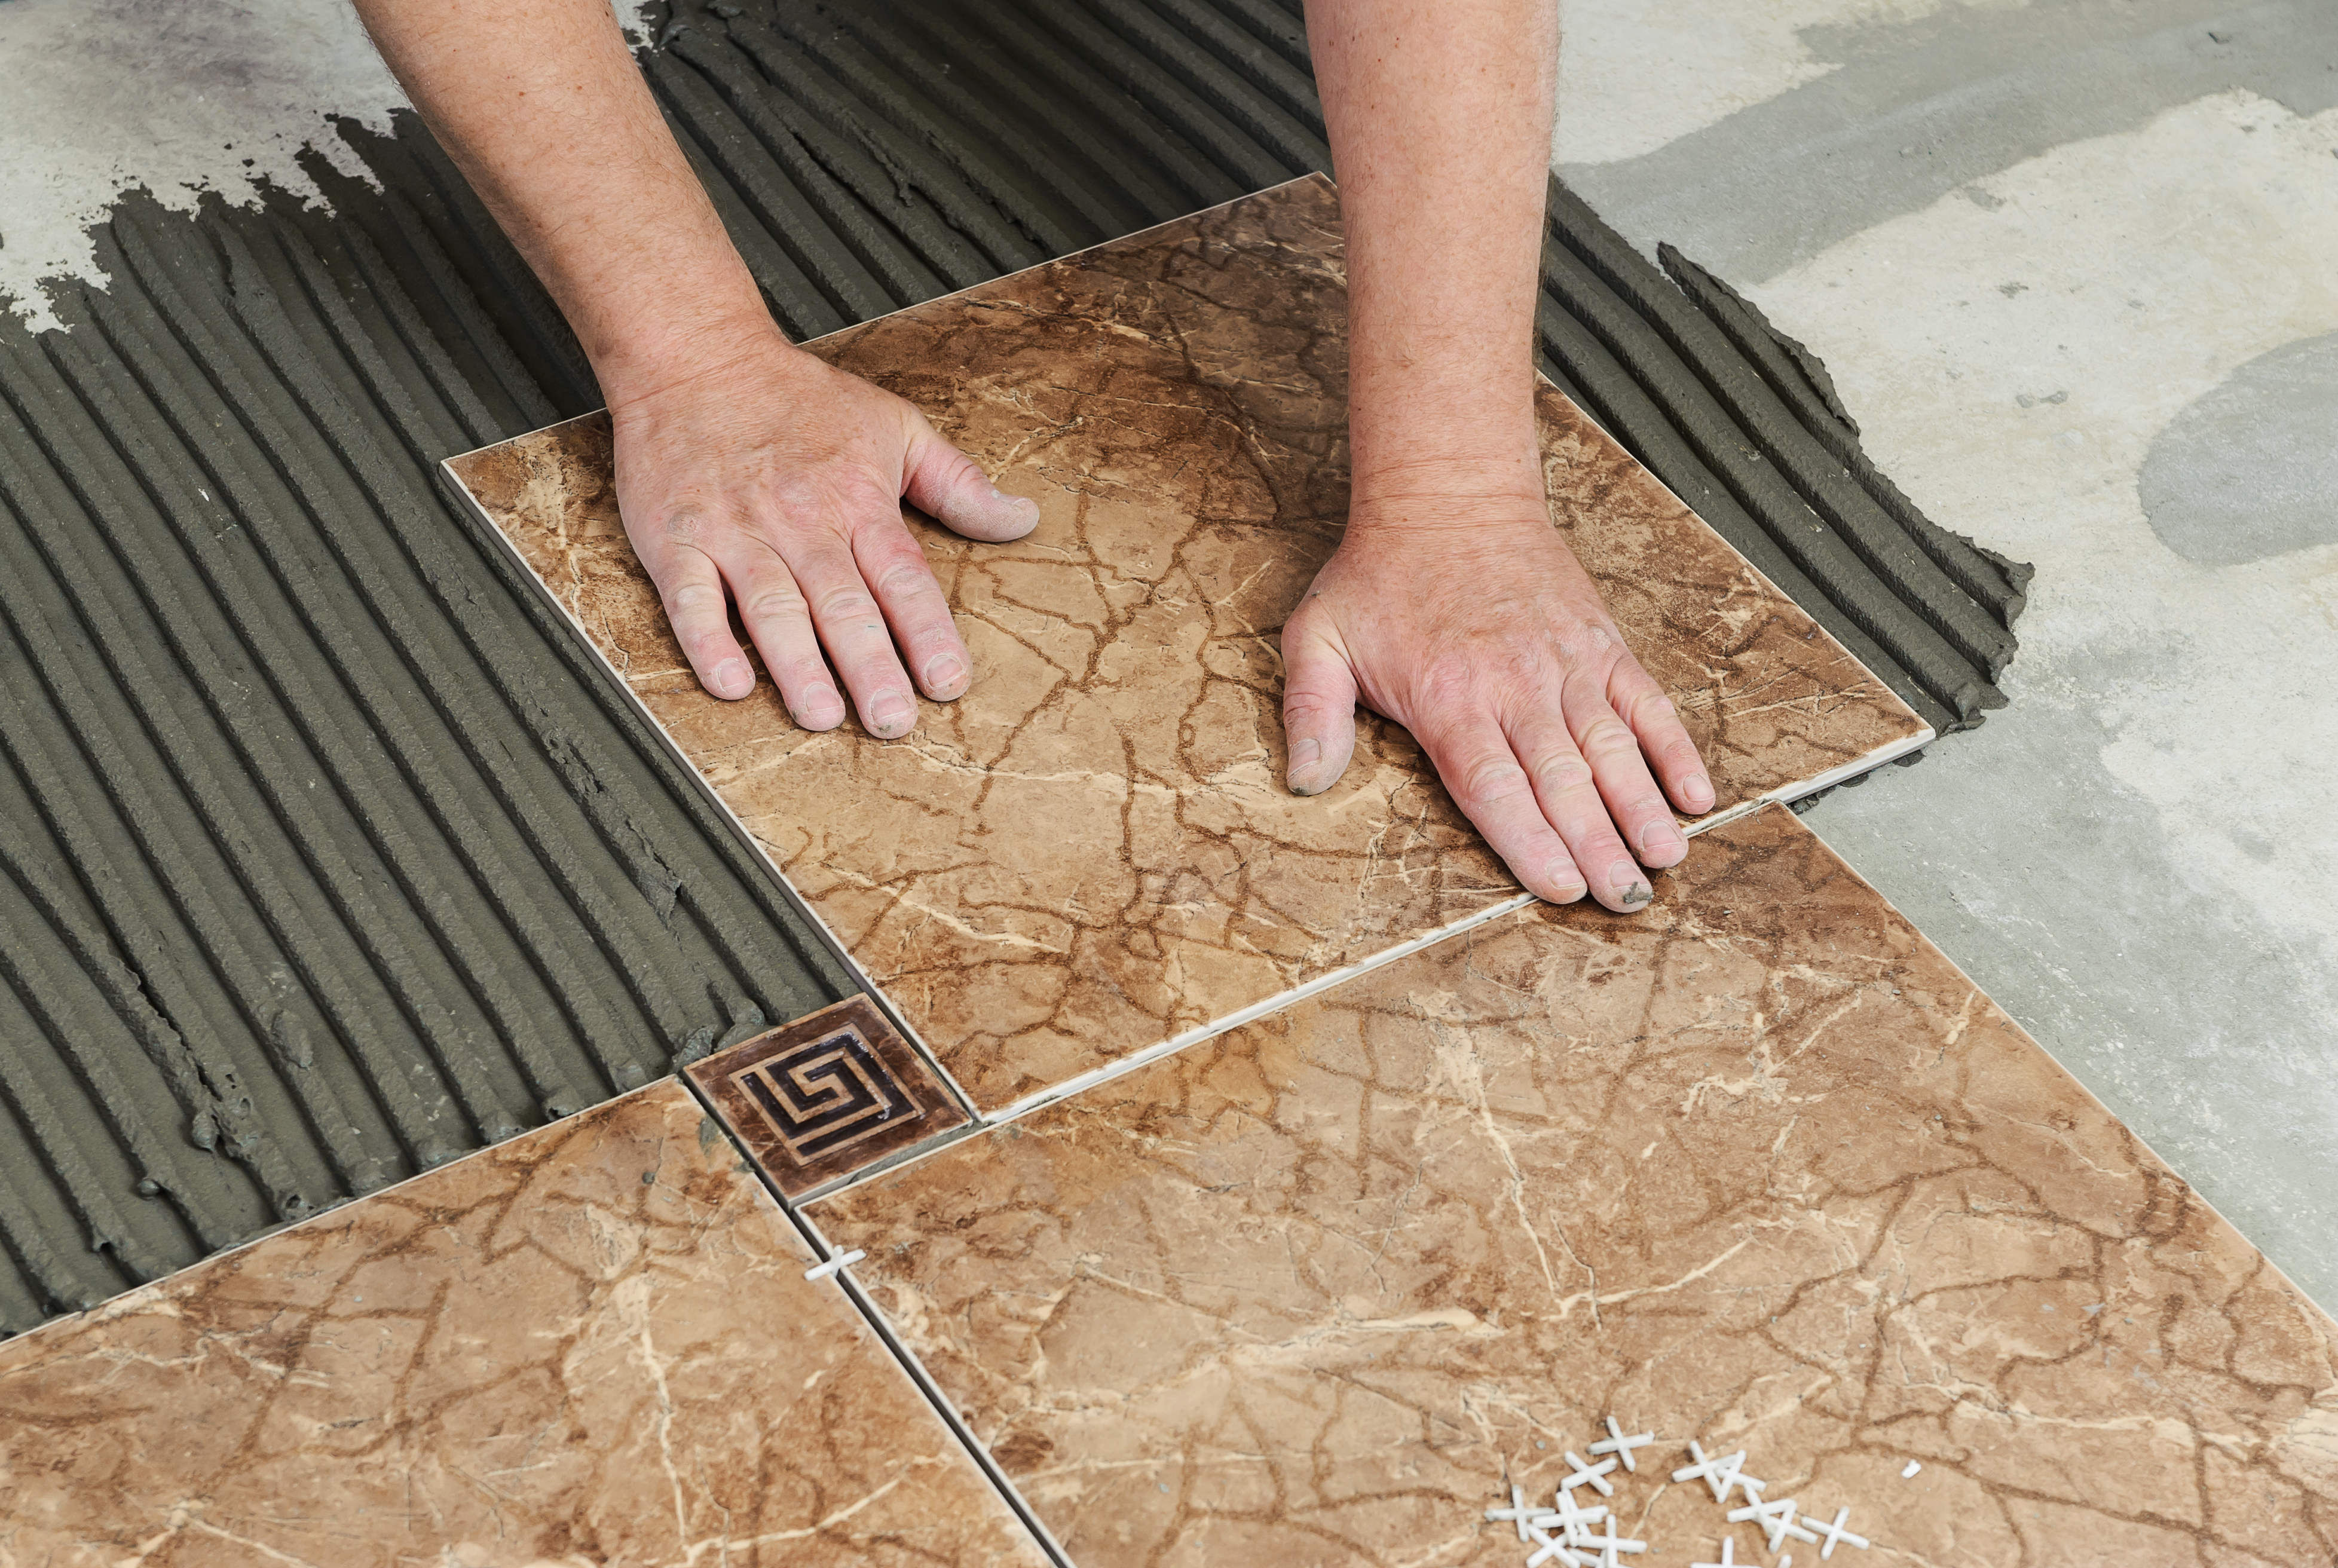
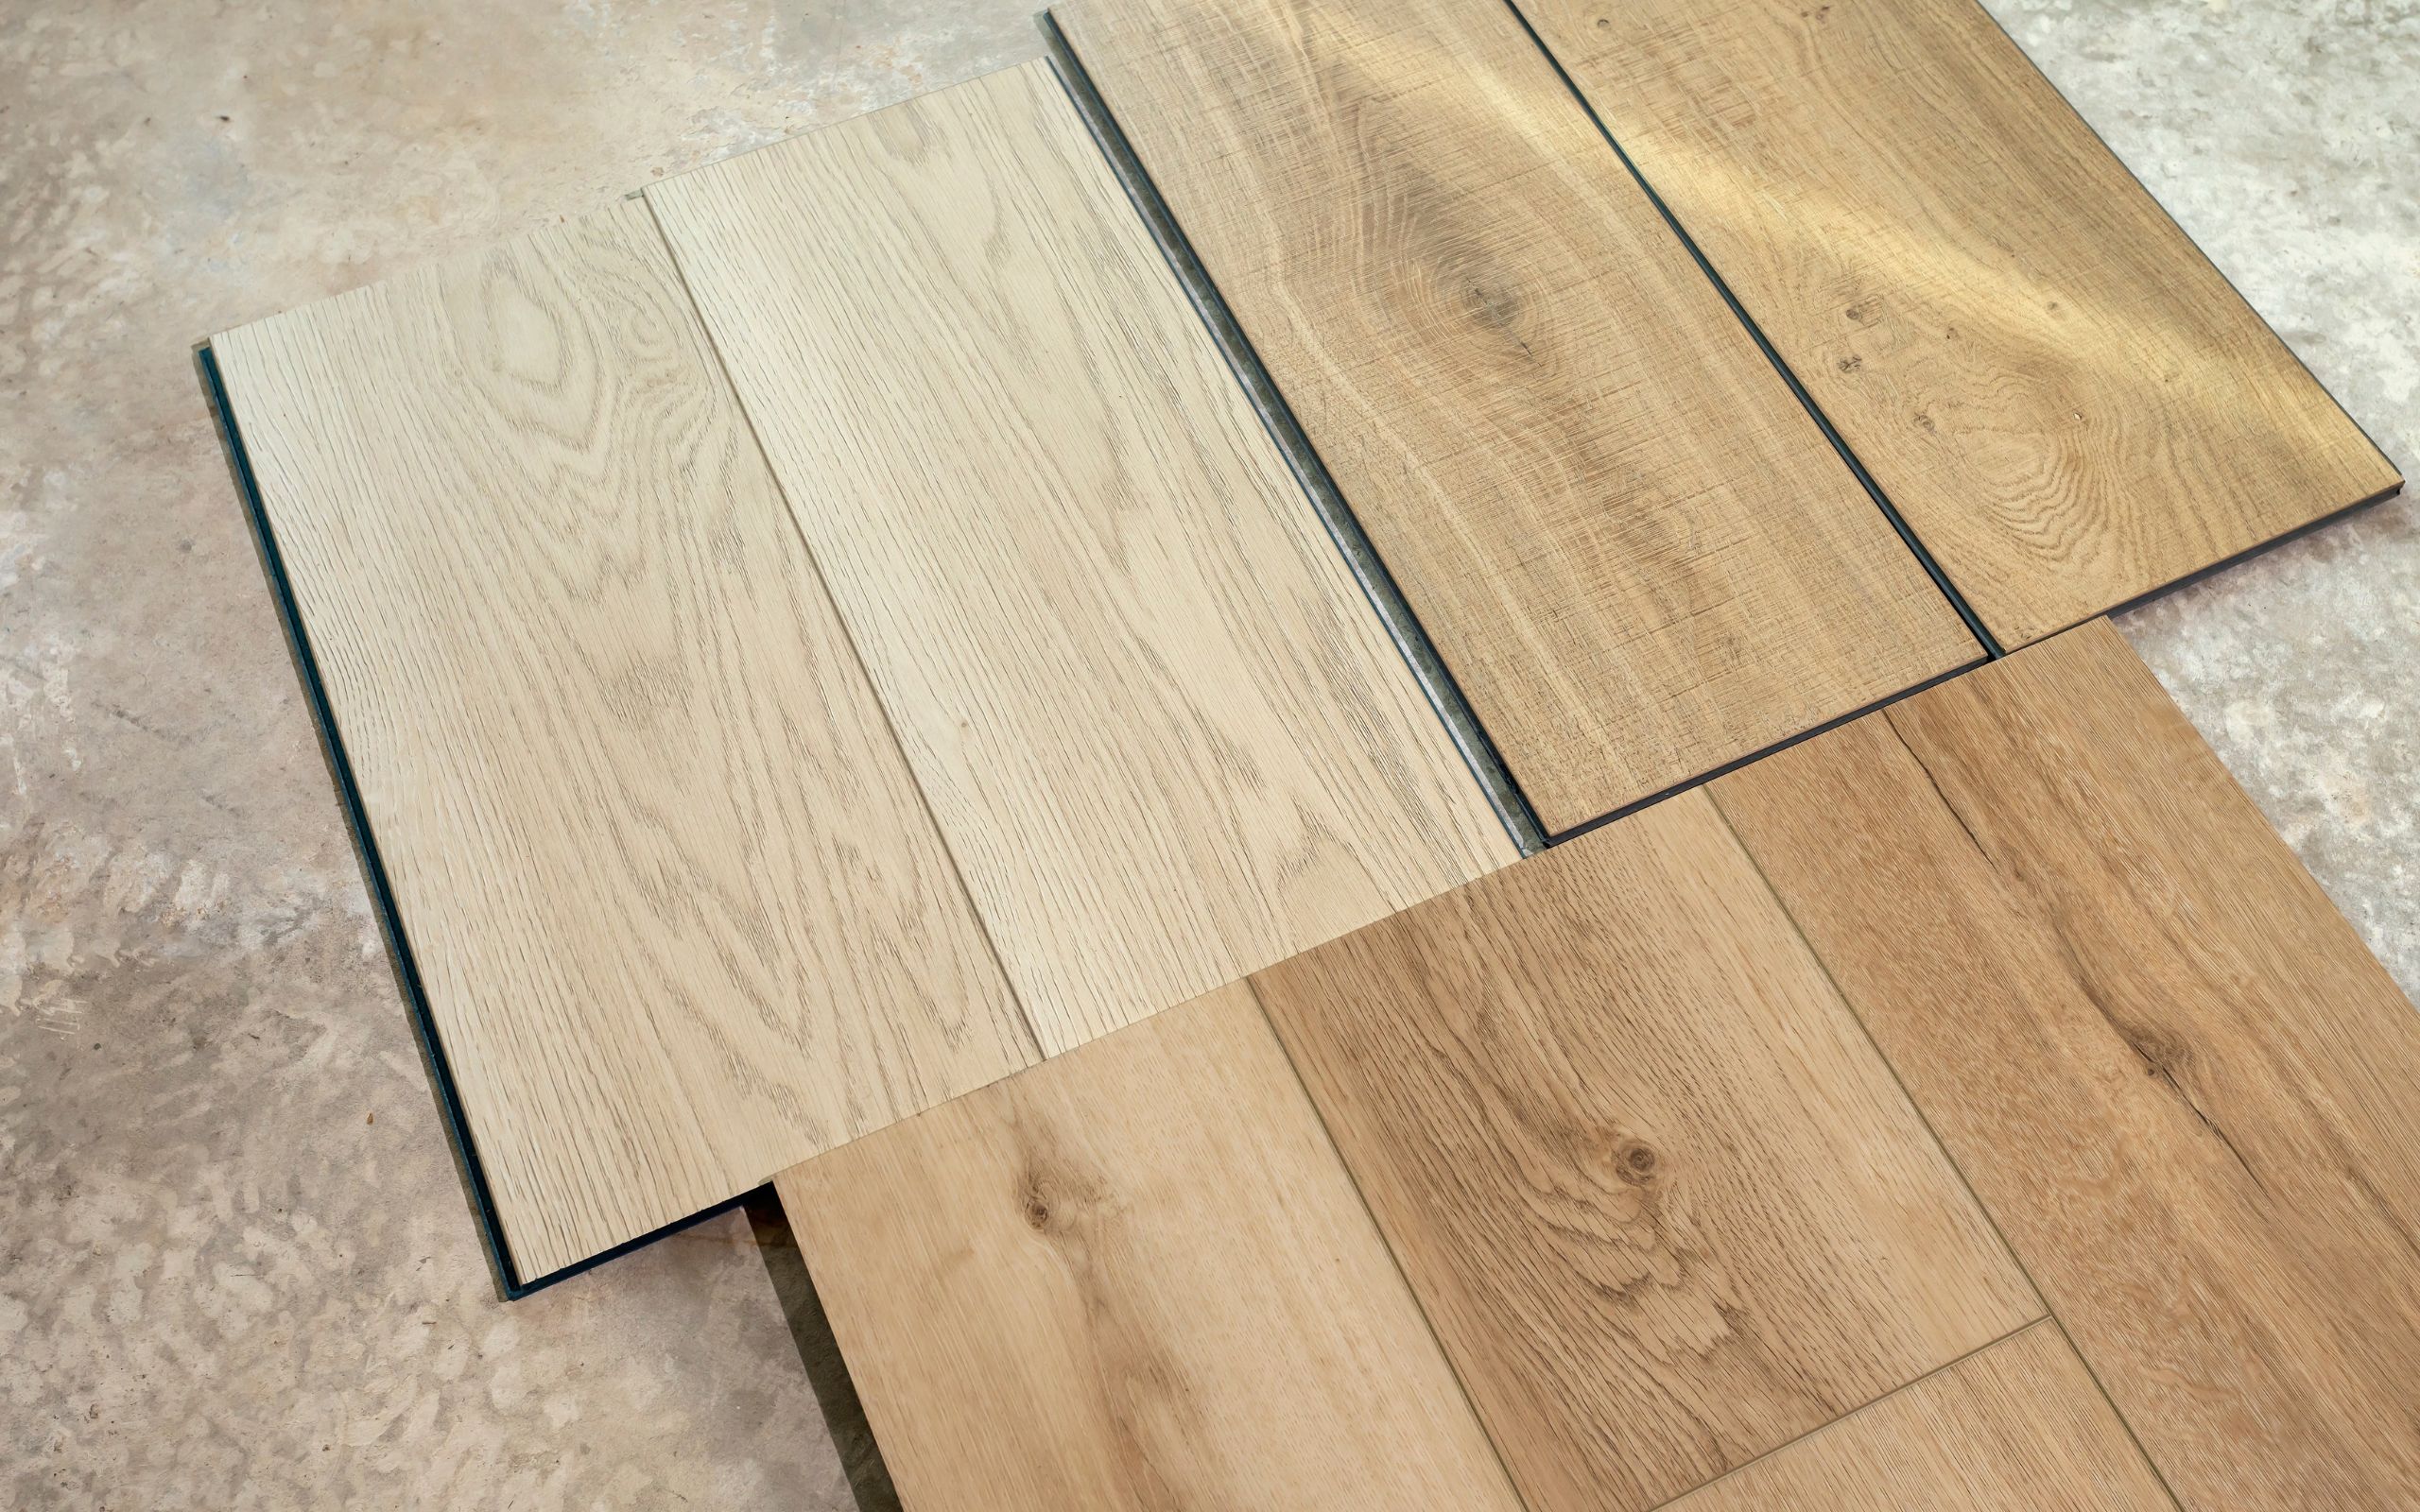
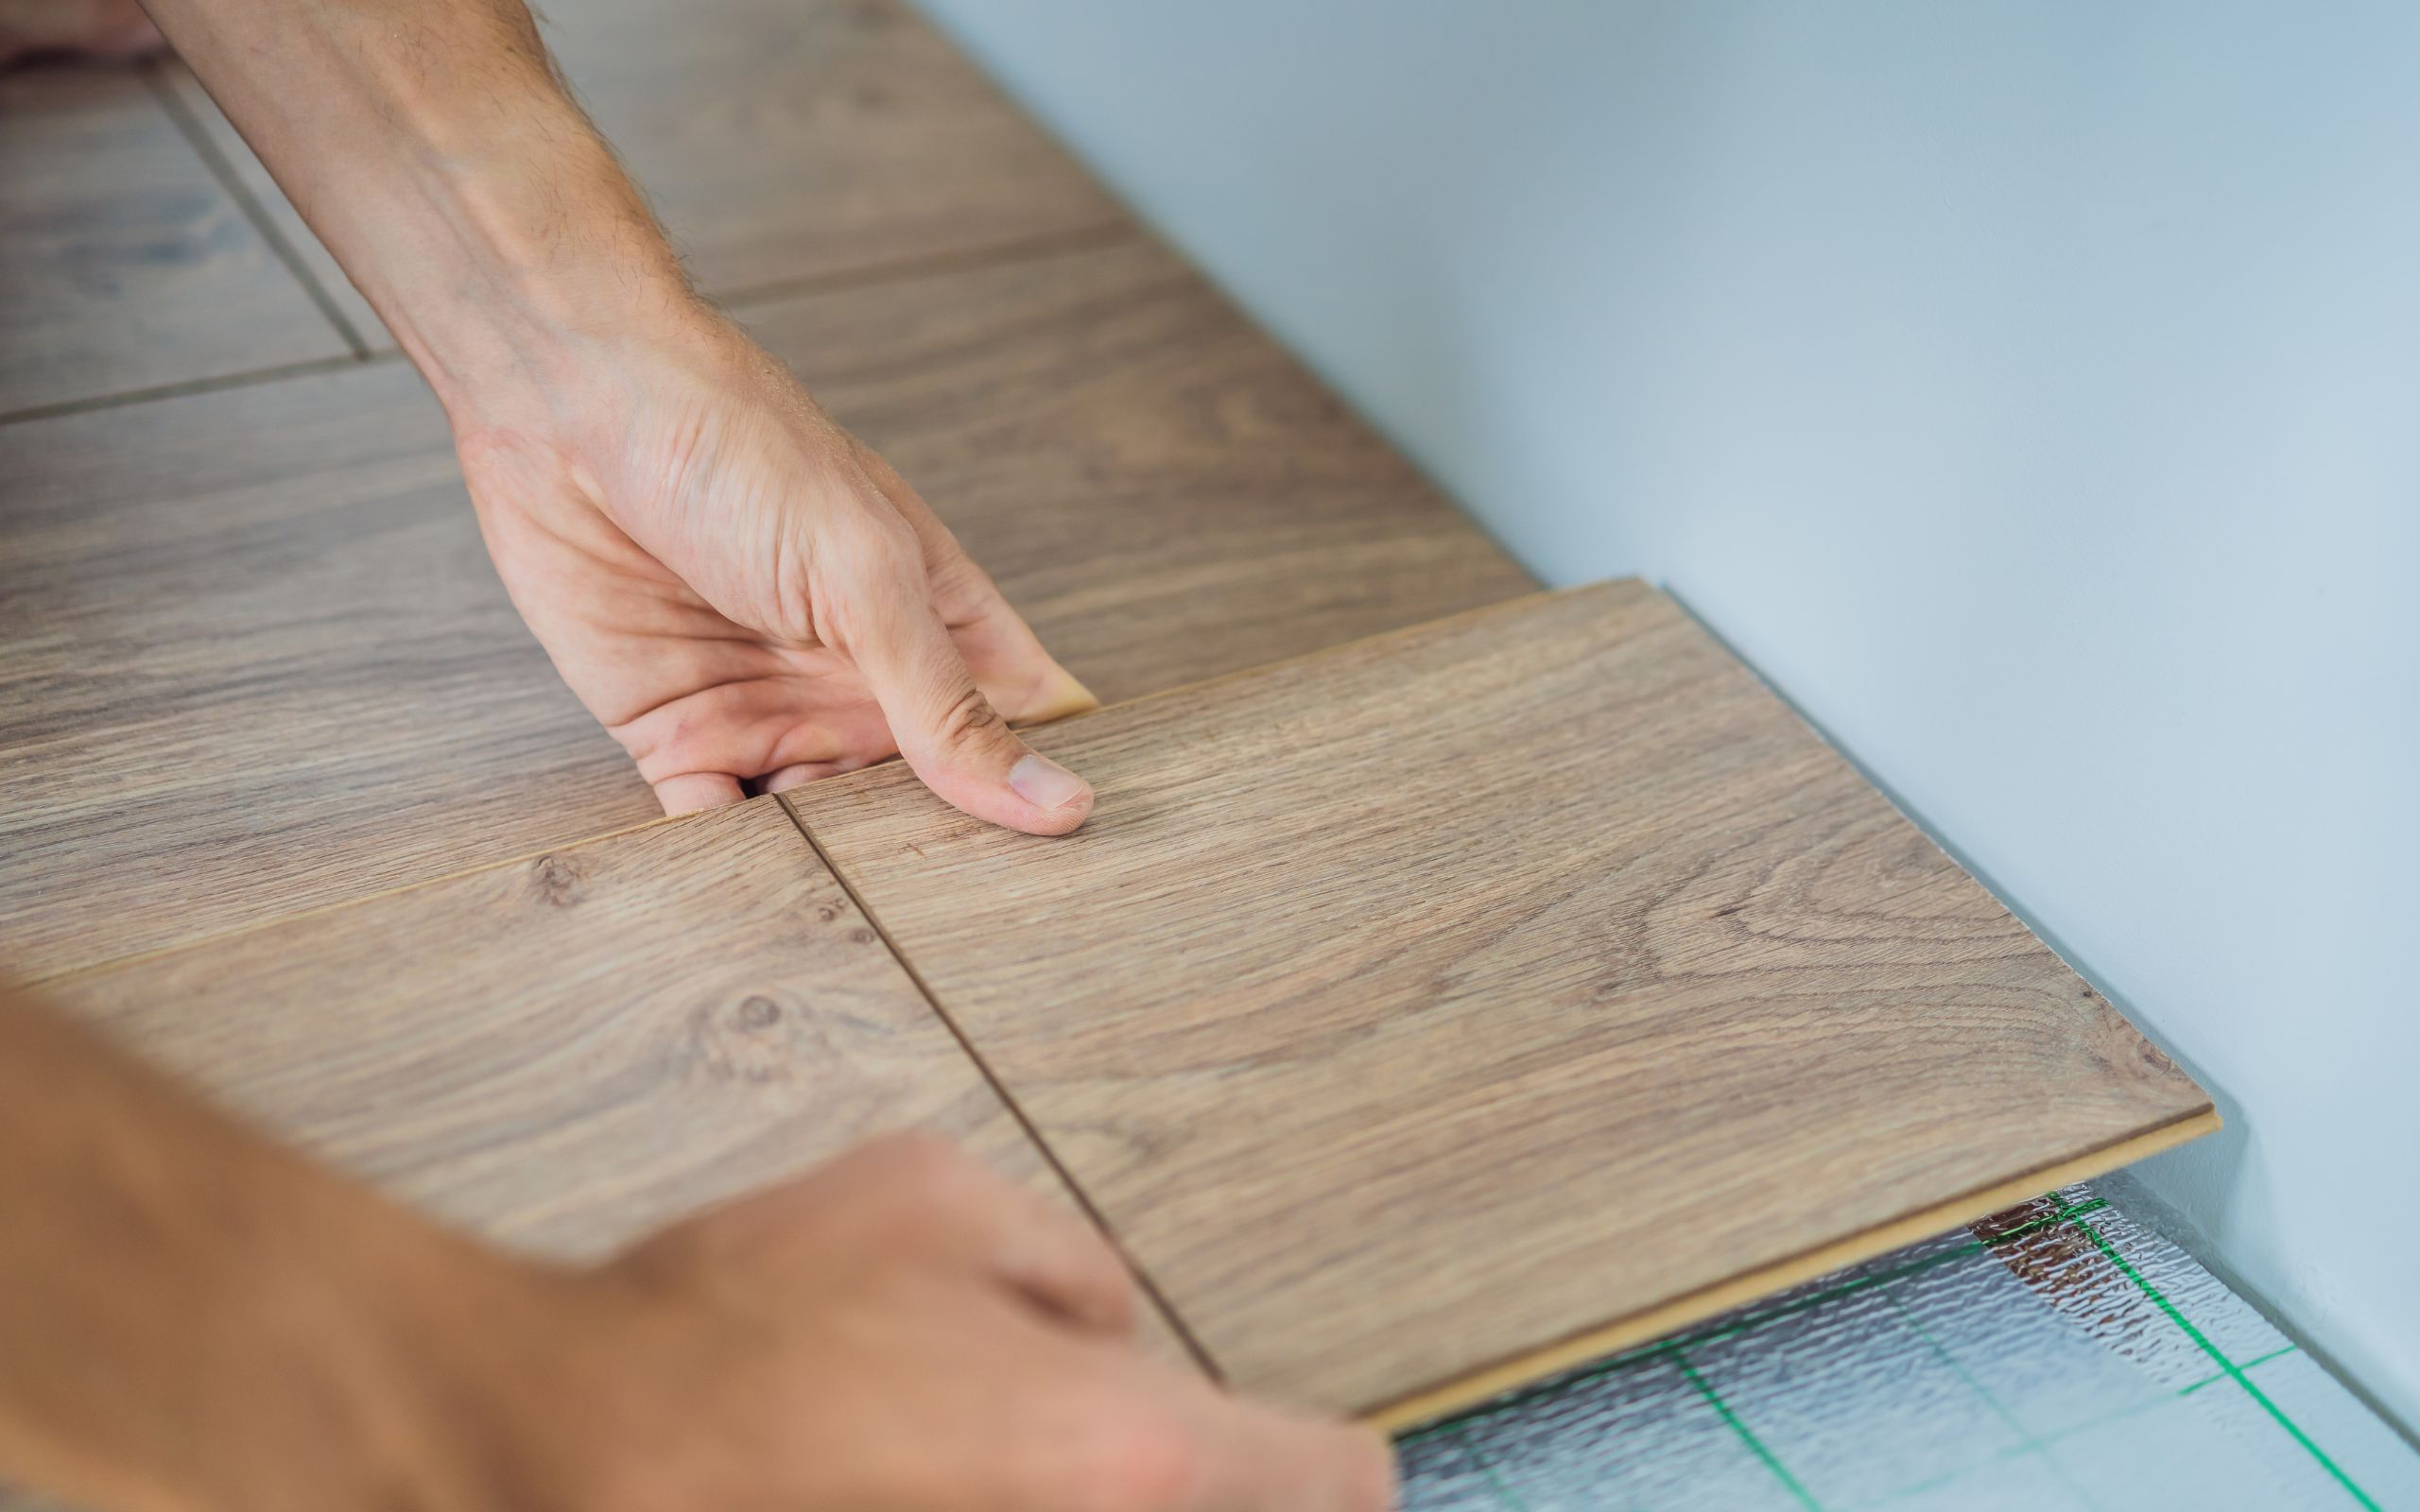
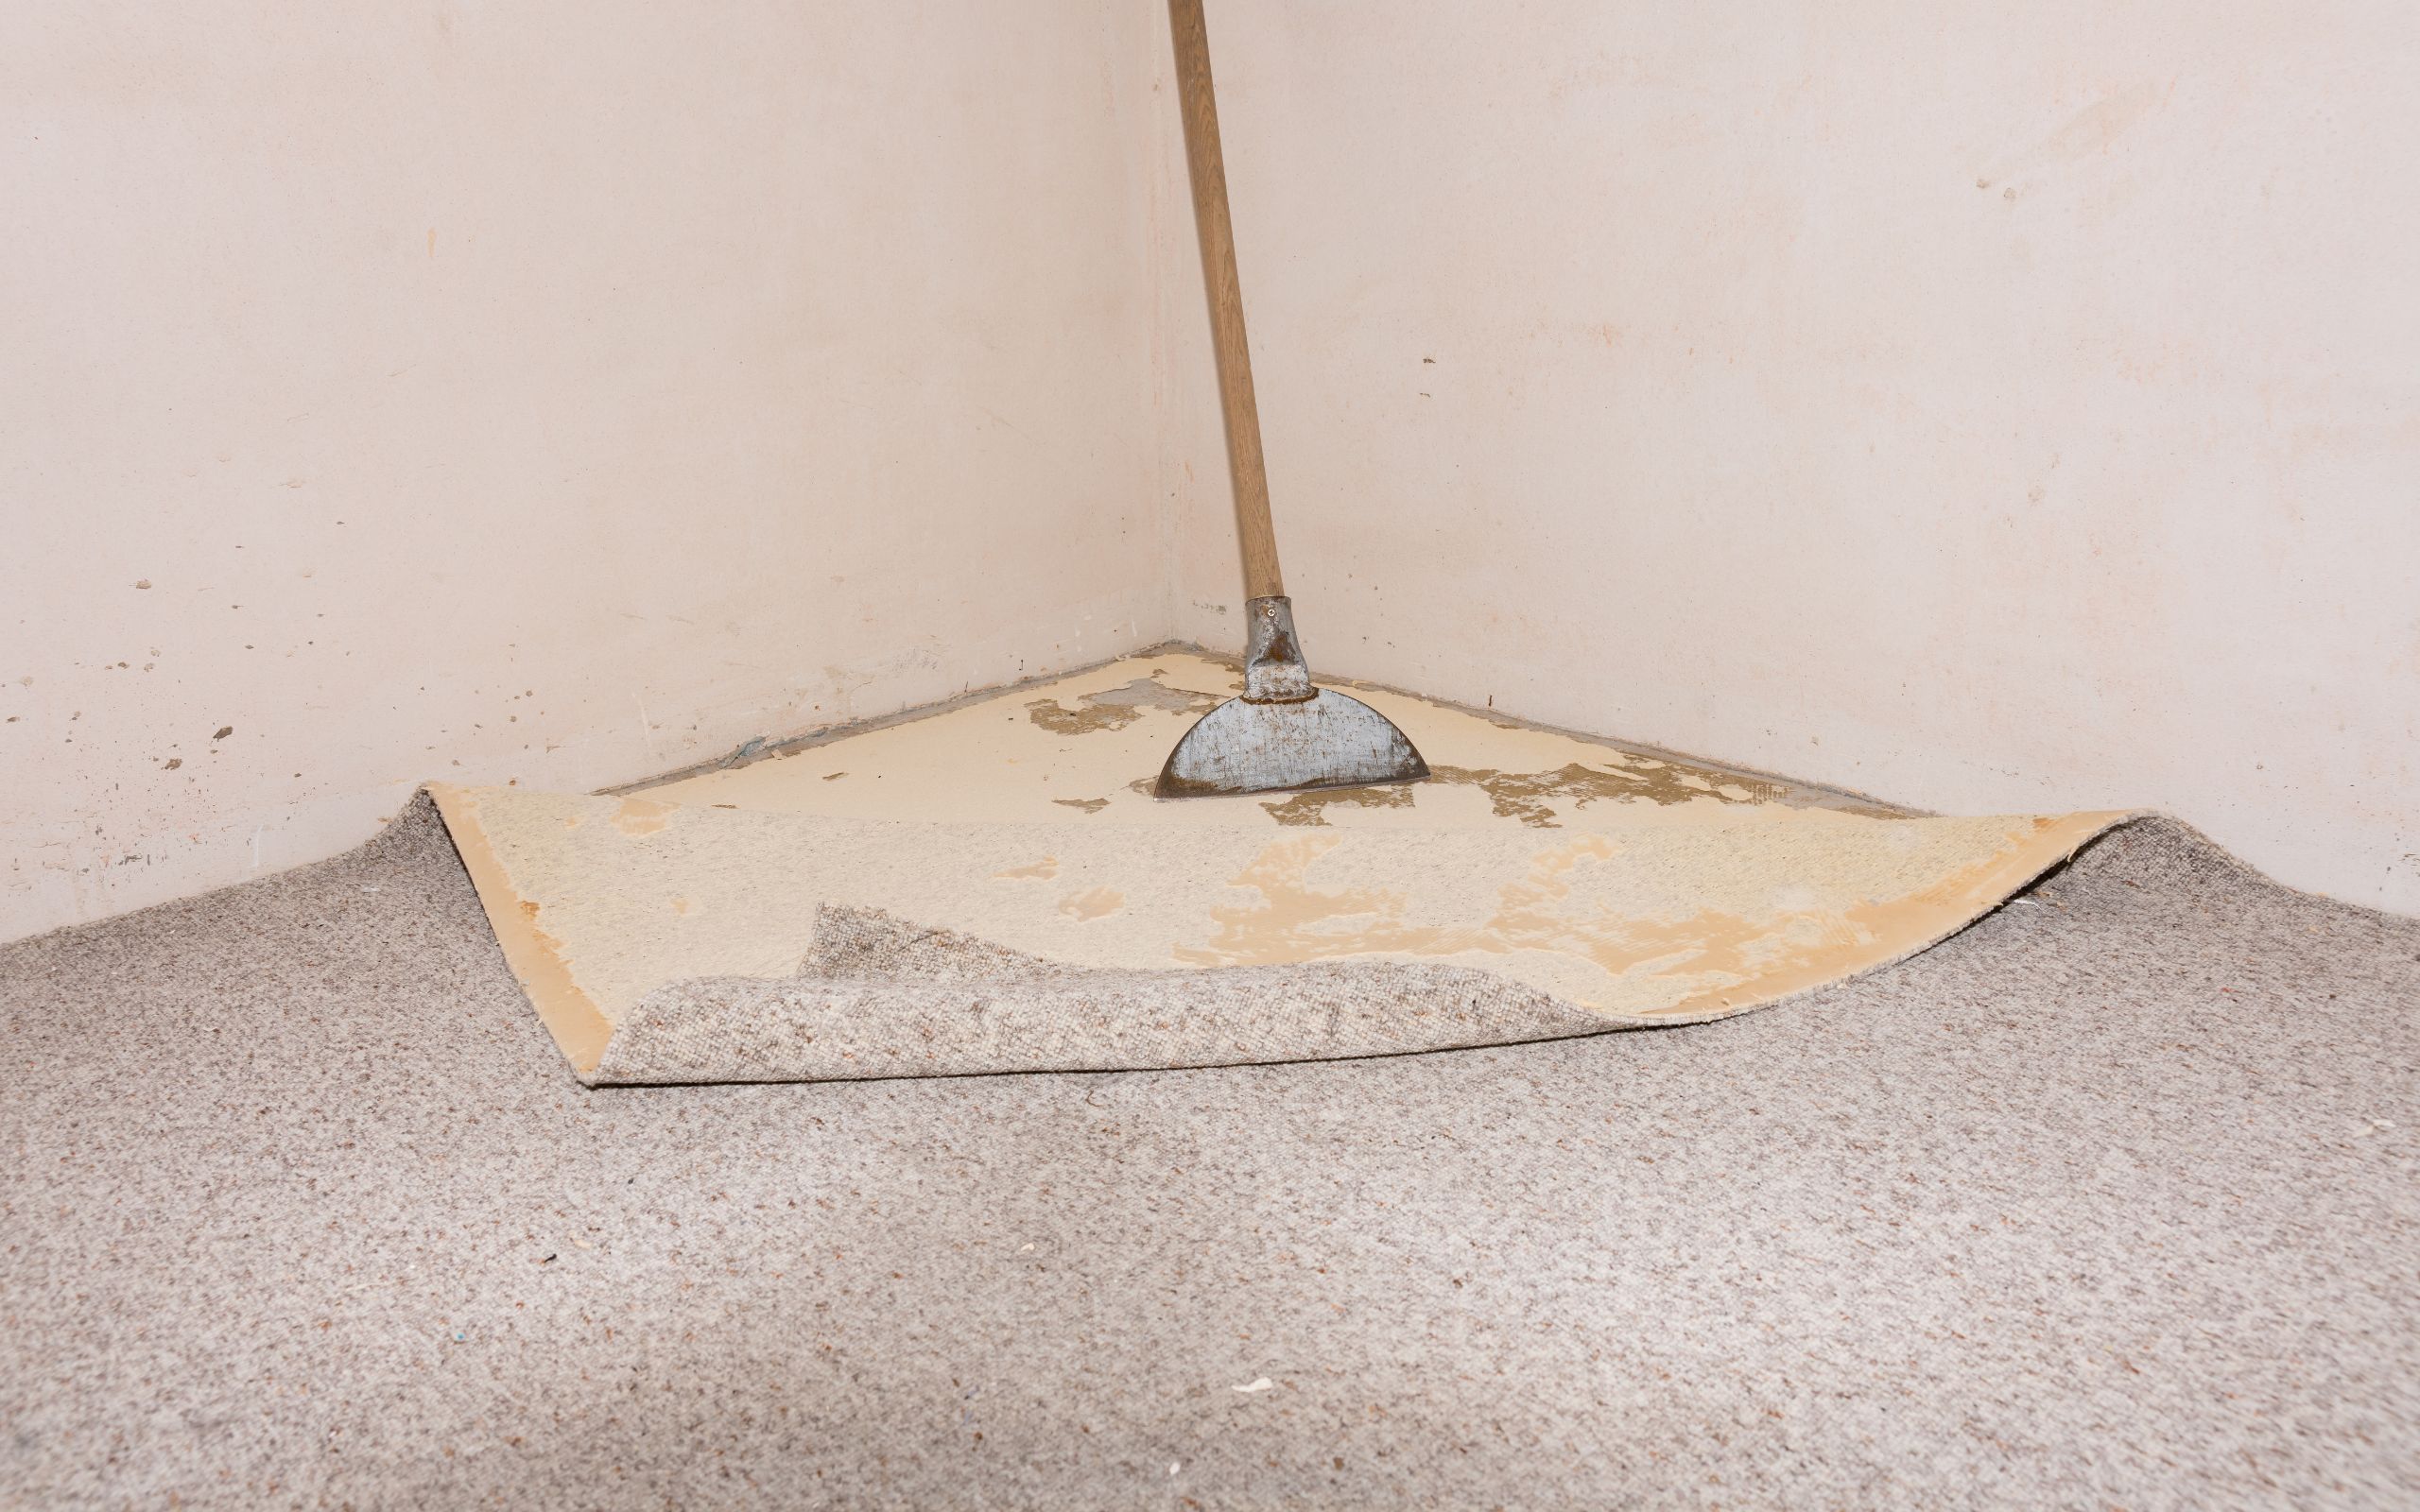
How to Rotate Carpets for Even Wear: Preserving Your Flooring Investment
Carpets are a significant investment in your home, and to keep them looking their best and extend their lifespan, regular maintenance is essential. One often-overlooked aspect of carpet care is rotation. In this blog, we'll delve into the importance of regularly rotating your carpets and provide you with a step-by-step guide on how to ensure even wear, preserving your flooring investment and the aesthetics of your space.
1. The Importance of Rotation:
Regularly rotating your carpets helps distribute wear and tear more evenly. High-traffic areas are prone to more significant wear, and rotation helps avoid the development of noticeable pathways or uneven fading.
2. Frequency of Rotation:
Rotate your carpets every 6 to 12 months, depending on the amount of foot traffic they endure. High-traffic areas may benefit from more frequent rotation.
3. Step-by-Step Carpet Rotation:
Here's how to rotate your carpets effectively:
4. Clear the Area:
Remove any furniture or objects from the carpeted area to ensure you have a clear workspace.
5. Vacuum Thoroughly:
Before rotating, vacuum the carpet thoroughly to remove dirt and debris that may have accumulated.
6. Roll the Carpet:
Roll up one end of the carpet carefully, starting from the edge. You can use a carpet tube or dowel to assist with this.
7. Inspect the Underneath:
While the carpet is rolled up, inspect the underside for any damage, stains, or signs of wear. This is also an excellent opportunity to clean the subfloor if needed.
8. Reverse the Roll:
Unroll the carpet in the opposite direction, ensuring it's properly aligned with the room. Make sure it lies flat and smooth.
9. Vacuum Again:
Vacuum the newly exposed side of the carpet thoroughly. This helps remove any dirt or debris that may have been trapped when the carpet was rolled.
10. Reset Furniture:
Once the carpet is properly rotated and vacuumed, place your furniture and objects back in their original positions.
11. Repeat for All Carpets:
If you have multiple carpets in your home, repeat the rotation process for each one to ensure even wear.
12. Document the Rotation:
Keep a record of when you last rotated your carpets, along with any specific notes about the condition of the carpet or subfloor.
Conclusion:
Regularly rotating your carpets is a simple yet effective way to extend their lifespan and maintain the aesthetics of your home. By following this step-by-step guide, you can ensure even wear, preventing premature wear and tear in high-traffic areas. Take care of your carpets, and they will continue to provide beauty and comfort to your living spaces for years to come.
Houston flooring specialists, Houston carpet installation, Vinyl plank experts, Ceramic tile installation, Engineered wood flooring, Laminate flooring solutions, Emergency water treatments, Carpet cleaning services, Tile and grout cleaning, Vinyl sheet installation, Porcelain tile options, VCT flooring installation, A/C duct cleaning, Dryer vent maintenance, Houston flooring consultations, Quality installation guarantee, Expert flooring technicians, Affordable flooring choices, Water damage response, Diverse flooring selection
DIY Carpet Installation Tips: Your Guide to Effective Installation
Installing your own carpet can be a rewarding DIY project that saves you money and gives you a sense of accomplishment. However, it's essential to do it correctly to ensure a professional finish. In this blog, we'll provide you with step-by-step instructions and valuable tips on how to install your own carpet effectively. With the right guidance, you can transform your space with confidence.
1. Gather Your Tools:
Before you begin, ensure you have all the necessary tools, including a carpet knife, knee kicker, power stretcher, adhesive, seam tape, and a carpet stretcher.
2. Measure and Plan:
Measure the area accurately to determine how much carpet you'll need. Plan for extra to account for pattern matching and any unexpected issues.
3. Prepare the Subfloor:
Make sure the subfloor is clean, dry, and level. Address any imperfections or damage before proceeding.
4. Remove Old Carpet:
If there is old carpet in place, remove it carefully, along with any tack strips or adhesive residue.
5. Install Tack Strips:
Place tack strips around the perimeter of the room, leaving a small gap between them and the wall. Secure them with nails or adhesive.
6. Install Padding:
Roll out the carpet padding, trim it to size, and secure it to the subfloor. Tape the seams if needed.
7. Roll Out the Carpet:
Unroll the carpet, allowing it to relax and acclimate to the room's temperature and humidity for a few hours.
8. Cut and Seam the Carpet:
Cut the carpet, leaving excess to overlap the walls. Seam any pieces together with seam tape, ensuring the pattern matches correctly.
9. Stretch the Carpet:
Use a knee kicker and power stretcher to stretch the carpet evenly and secure it to the tack strips along the walls.
10. Trim Excess:
Trim the excess carpet along the walls with a carpet knife, ensuring it's neatly tucked under baseboards or trim.
11. Seam Finishing:
Trim and heat-seal the seams for a clean and secure finish. Make sure they are smooth and inconspicuous.
12. Tuck Carpet Edges:
Use a carpet tucker or stair tool to tuck the carpet edges into the gap between the tack strips and the walls.
13. Secure Transitions:
Install transition strips or thresholds at doorways and transitions to other flooring types.
14. Final Trim:
Trim any remaining excess carpet carefully to create a neat and professional appearance.
15. Vacuum and Enjoy:
Once your carpet is securely installed, give it a thorough vacuuming to remove any loose fibers or debris. Your DIY carpet installation is complete, and you can now enjoy your refreshed space.
Conclusion:
With the right tools, careful planning, and a methodical approach, DIY carpet installation can yield professional results. By following these step-by-step instructions and tips, you can transform your space with confidence, save money, and take pride in a job well done.
Houston flooring specialists, Houston carpet installation, Vinyl plank experts, Ceramic tile installation, Engineered wood flooring, Laminate flooring solutions, Emergency water treatments, Carpet cleaning services, Tile and grout cleaning, Vinyl sheet installation, Porcelain tile options, VCT flooring installation, A/C duct cleaning, Dryer vent maintenance, Houston flooring consultations, Quality installation guarantee, Expert flooring technicians, Affordable flooring choices, Water damage response, Diverse flooring selection